DIY Cardboard Belt Holder for Kids: Crafting Fun and Functionality
Crafting with kids is a wonderful way to encourage creativity and hands-on skills. Recently, my 10-year-old nephew embarked on a project to make a handy belt holder for his notebook and pens (his brother and he figured it out all on their own). Using simple materials like cardboard, a hot glue gun, duct tape, and magnets, he created a functional and durable accessory. Here’s a step-by-step guide on how he made it:

Materials Needed:
- Cardboard
- Hot glue gun and glue sticks
- Duct tape (any color or pattern)
- Magnets
- Old cloth for the belt strap
Steps to Create the Cardboard Belt Holder:
- Cutting the Cardboard:
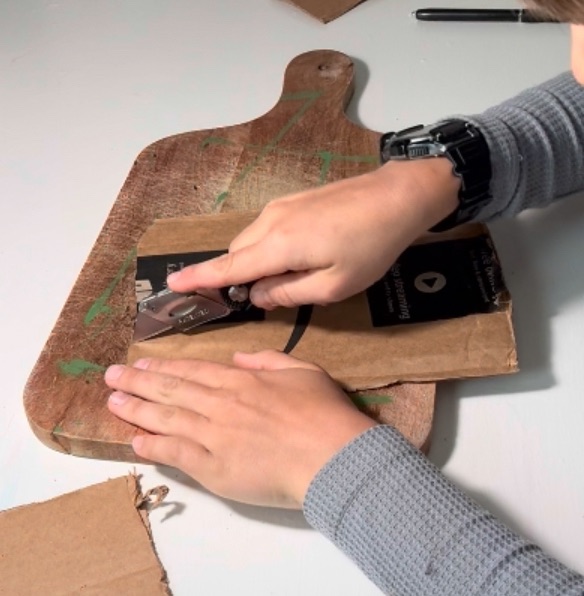
- First, measure and cut the cardboard pieces. You’ll need one large piece for the body of the holder, a smaller piece for the lid, and a few extra pieces for reinforcement.
- The main piece should be slightly larger than the notebook and pens it will hold, leaving some room for easy access.
- Assembling the Holder:
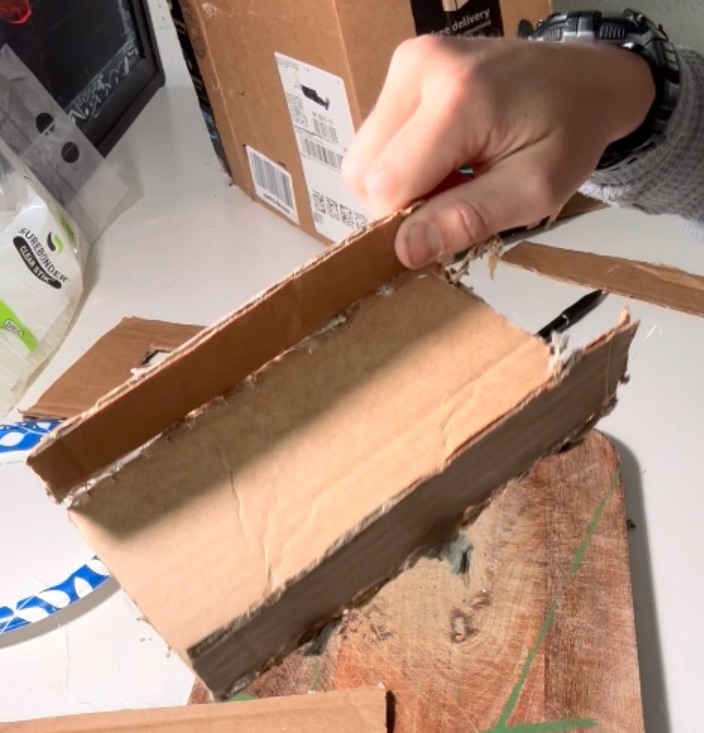
- Using the hot glue gun, carefully glue the sides of the cardboard together to form the main compartment. Make sure the edges are aligned properly for a neat finish.
- Reinforce the structure by adding additional cardboard pieces to the inside corners and gluing them securely.
- Attaching the Belt Strap:
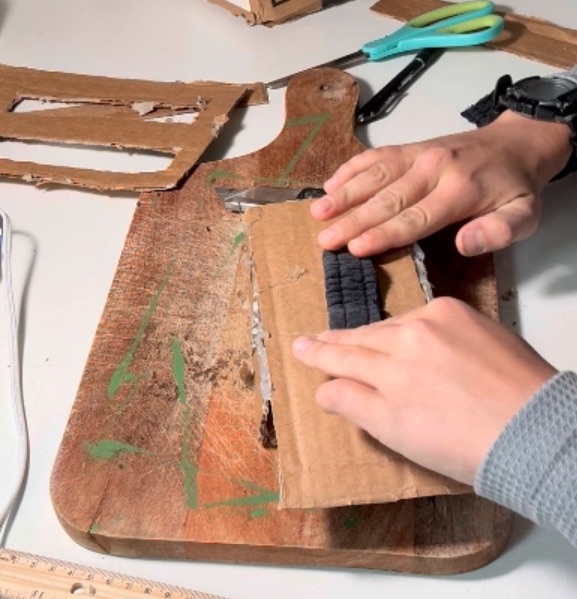
- Cut a piece of old cloth to create the strap. It should be long enough to loop around the belt comfortably.
- Hot glue the strap to the back of the holder. Ensure it’s securely attached by adding extra glue and pressing firmly.
- Covering with Duct Tape:
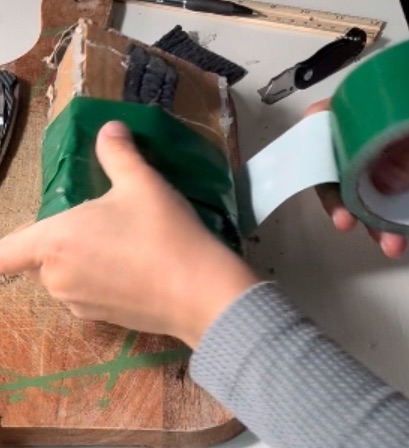
- To give the holder a sturdy and polished look, cover the entire surface with duct tape. Start by wrapping the sides and bottom, then cover the front and back. Smooth out any wrinkles or bubbles as you go.
- Use a contrasting color or pattern for added flair, if desired.
- Adding the Magnetic Closure:
- Attach the magnets to the inside of the lid and the corresponding spot on the holder’s body. Ensure they are aligned so the lid snaps shut easily.
- Hot glue the magnets in place and cover them with a small piece of duct tape for extra security.
Tips for Success:
- Supervision: Since this project involves a hot glue gun, and a knife adult supervision is recommended to prevent accidents.
- Personalization: Encourage your child to personalize their holder with stickers, markers, or additional decorations.
- Functionality: Test the holder’s size and fit before finalizing to ensure it comfortably holds the notebook and pens.
Why This Project is Great for Kids:
- Hands-On Learning: It promotes fine motor skills and hand-eye coordination.
- Creativity: Kids can express their personal style through customization.
- Practical Use: It results in a useful item that kids can be proud of and use daily.
Creating a cardboard belt holder is not only a fun crafting project but also a practical one. My nephew proudly wears his handmade holder, always ready with his notebook and pens at his side. Give this project a try with your kids and watch their creativity and confidence soar!
