String art!
As summer winds down and the excitement of a new school year approaches, there’s no better time to channel that seasonal energy into a creative project. If you’re like me and love crafting with found materials, then you’re in for a treat with this dual-sided junk wood block string art project. This fun and versatile craft is perfect for adding a touch of seasonal flair to your home decor. On one side, you’ll celebrate the back-to-school season, and on the other, you’ll welcome the warm hues of fall. Let’s dive into how to create this delightful piece!
Materials Needed:
- Junk wood blocks (any size you prefer; make sure they’re smooth and sturdy)
- Small nails or pins
- Thread or string in various colors, if your in need of any string here’s the one i use https://amzn.to/3WOGadG
- Hammer
- Paint or wood stain (optional, for a polished look)
Step 1: Preparing Your Wood Blocks
Start by selecting your junk wood blocks. These can be leftover pieces from other projects or even reclaimed wood. If the wood is rough, give it a light sanding to create a smooth surface for your string art. If you’d like, paint or stain the wood for a finished look. Neutral tones work great, allowing your string art to be the star of the show.
Step 2: Sketching Your Designs
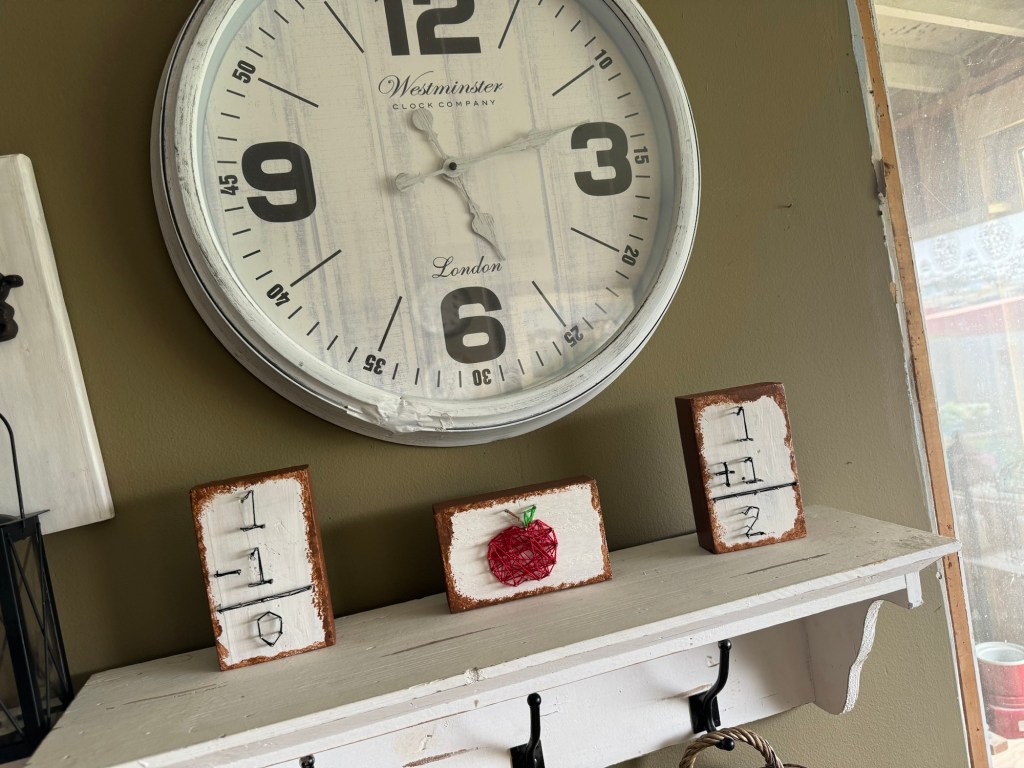
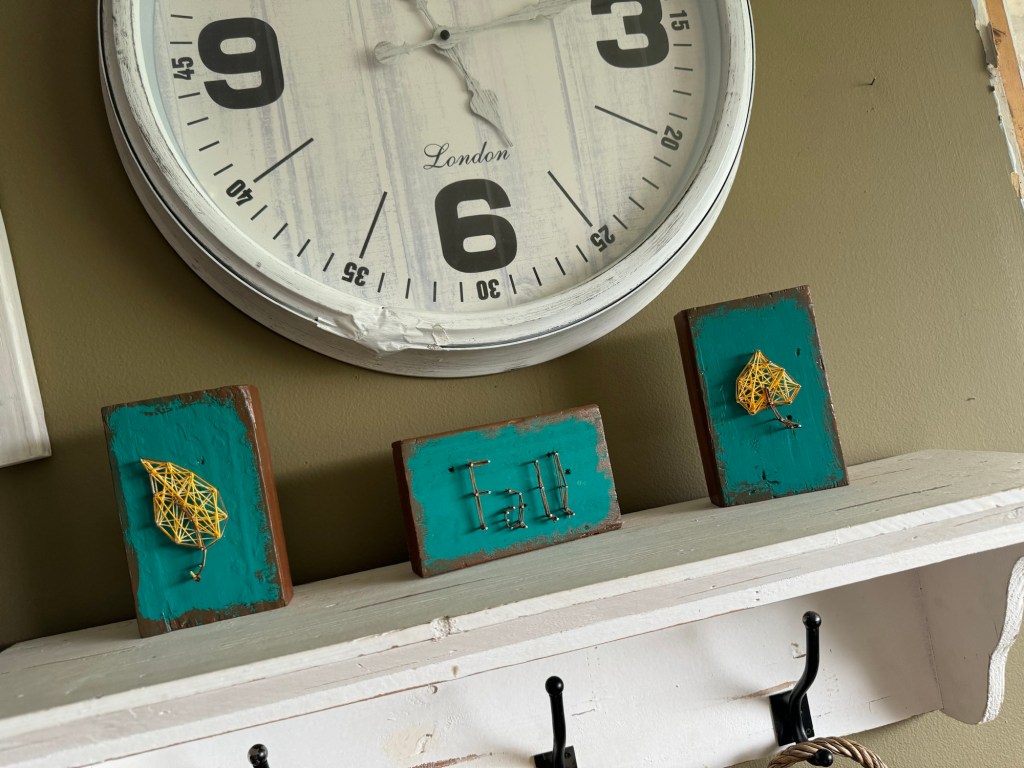
Decide on the designs for each side of the block. For the back-to-school side, consider classic motifs like an apple, a pencil, or a stack of books. For the fall side, think about pumpkins, leaves, or acorns. Lightly sketch your designs on each side of the block with a pencil.
Step 3: Adding the Nails
Mark out evenly spaced points along your sketched design where you’ll place the nails. Once you’ve marked all the points, begin hammering in the nails, leaving about half an inch of the nail sticking out from the wood. Be sure to go slowly and carefully so the nails are evenly spaced and firmly in place.
Step 4: Wrapping the String
Now for the fun part—wrapping the string! Starting at one nail, tie the end of your thread or string and begin looping it around the nails to form your design. For the back-to-school side, you might use red or green for an apple or yellow for a pencil. On the fall side, opt for warm oranges, browns, and yellows to evoke that autumnal feeling.
Take your time with this step, ensuring the string is taut and evenly distributed across the nails. You can keep the design simple or get more intricate, depending on your style.
Step 5: Finishing Touches
Once your string art is complete, tie off the end of the string on the final nail and trim any excess. You can add extra details, like small embellishments or a light varnish to protect the wood. Your dual-sided block is now ready to display!
Display Ideas:
- Mantelpiece or Shelf: Place your string art block on a shelf, flipping it around as the seasons change.
- Desk Decor: Add a touch of seasonal inspiration to your workspace with this easy-to-flip decor piece.
- Gift Idea: These blocks make wonderful handmade gifts, especially for teachers or anyone who appreciates seasonal decor.
Conclusion:
This dual-sided junk wood block string art is not only a charming addition to your home but also a testament to the beauty of repurposing and creativity. Whether you’re gearing up for back-to-school or getting ready for the fall season, this project brings a touch of handmade warmth to any space. So, gather your materials, unleash your creativity, and enjoy the process of crafting something truly unique!
-Your friendly neighborhood crafter!
