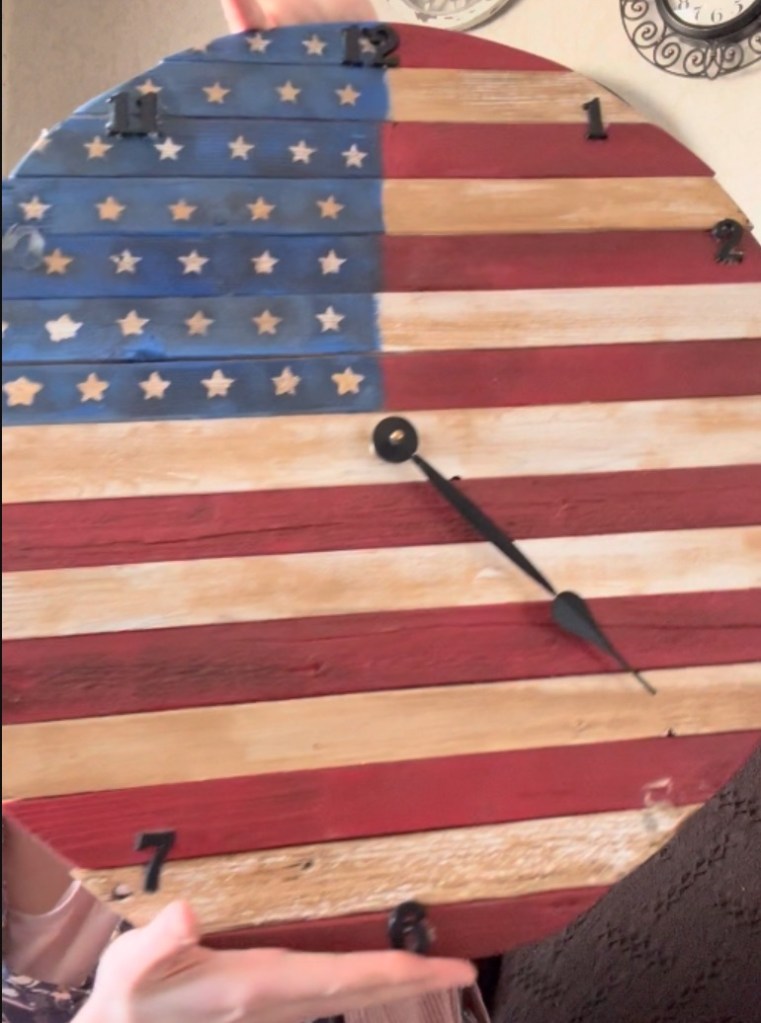
When my kids accidentally knocked our wall clock off the wall, shattering it, I saw an opportunity for a creative project. Instead of purchasing a new one, I decided to revamp an old wooden clock I’d crafted years ago. The clock had seen better days: its motor was non-functional, the numbers were peeling off, and its American flag design no longer matched our decor.
Step 1: Preparing the Clock
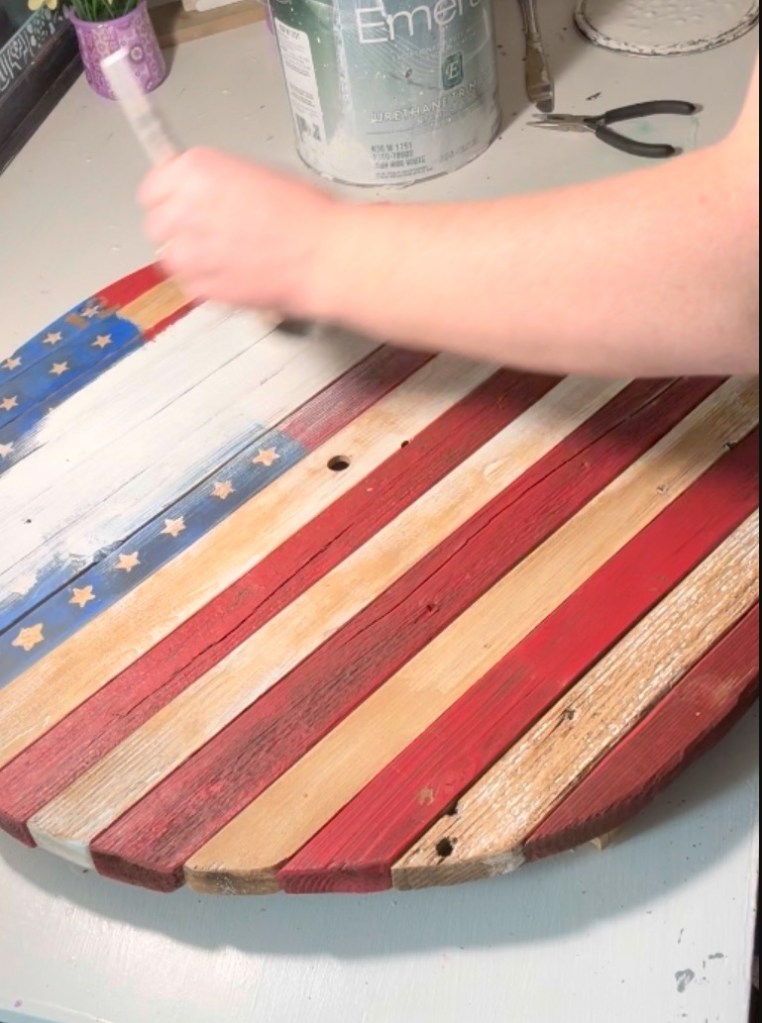
I began by removing the old clock motor and hands, ensuring the clock face was clear, I painted the entire clock face white, providing a neutral canvas for the new design.
Step 2: Redesigning the Clock Face
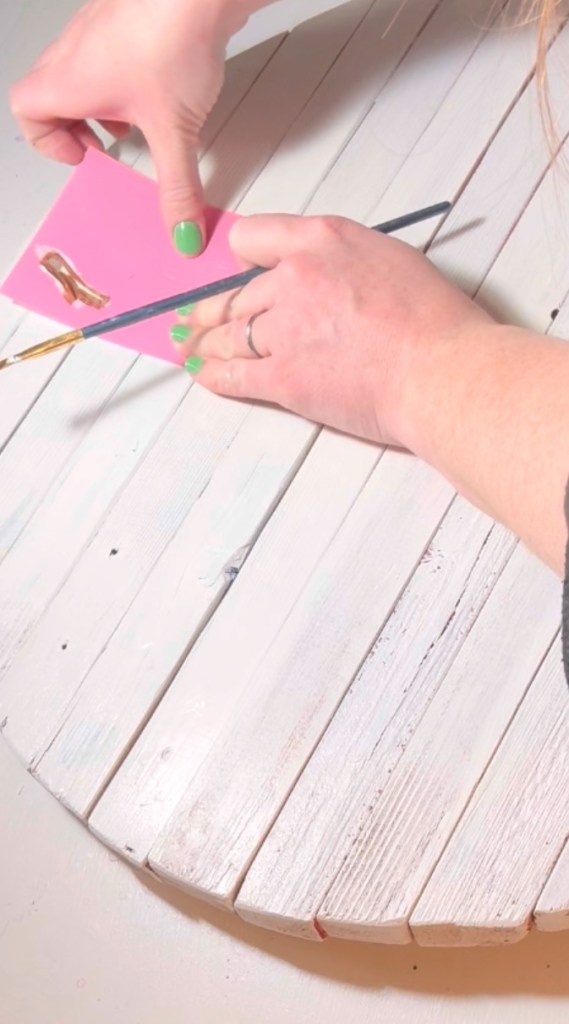
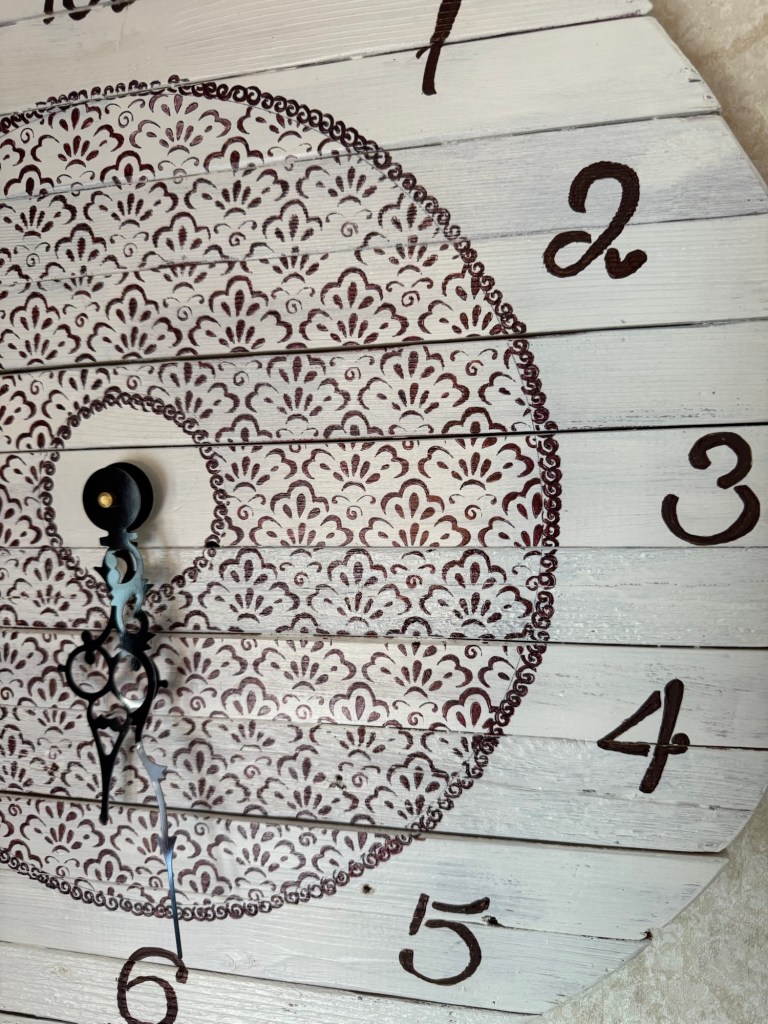
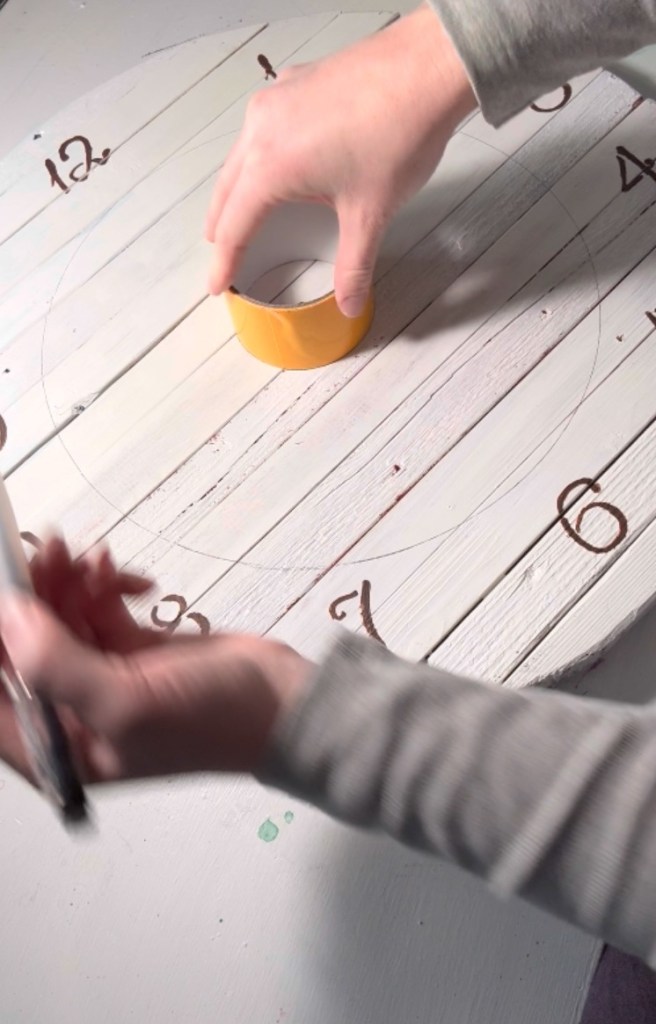
Once the white paint dried, I used stencils to paint new numbers onto the clock face, ensuring they were evenly spaced and aligned. For the center design, I traced a large circle using a round lid and a smaller circle with a roll of duct tape.
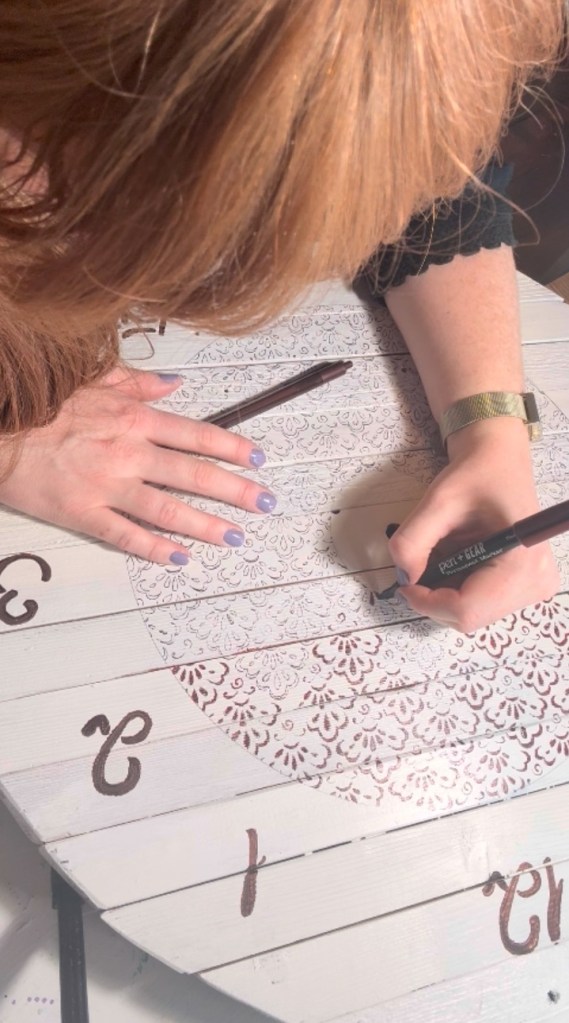
Within the bigger circle, I added an intricate pattern using a decorative stencil, first outlining it with a pen and then filling it in with a brown marker for contrast.
Step 3: Adding Finishing Touches

To frame the central design, I incorporated a circular border pattern around it, enhancing the clock’s aesthetic appeal. After completing the artwork, I installed a new clock motor and attached the clock hands, ensuring they operated smoothly.
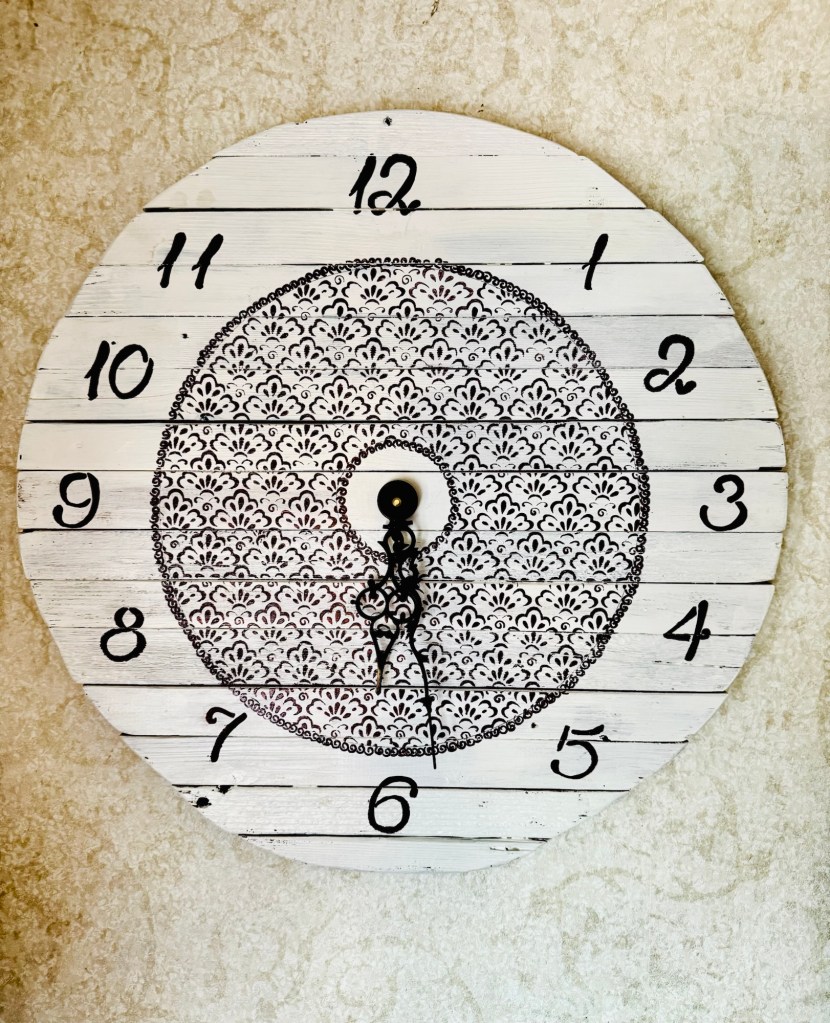
This DIY clock makeover not only saved money but also allowed me to create a personalized timepiece that complements our home’s decor.
