Sometimes the best ideas come from what you already have lying around — even when you’re not totally sure how it’s going to turn out.
Recently, we were finishing up some work on our house and had leftover cutoffs from square cedar pillars we were using on the deck. These were just plain, square cedar boards, but because we had to trim the ends to size, I ended up with three chunky blocks — all different heights and sizes. Too nice to throw away… but also not exactly screaming “perfect project.”
Still, I decided to experiment.
The Idea (and a Loose Vision)
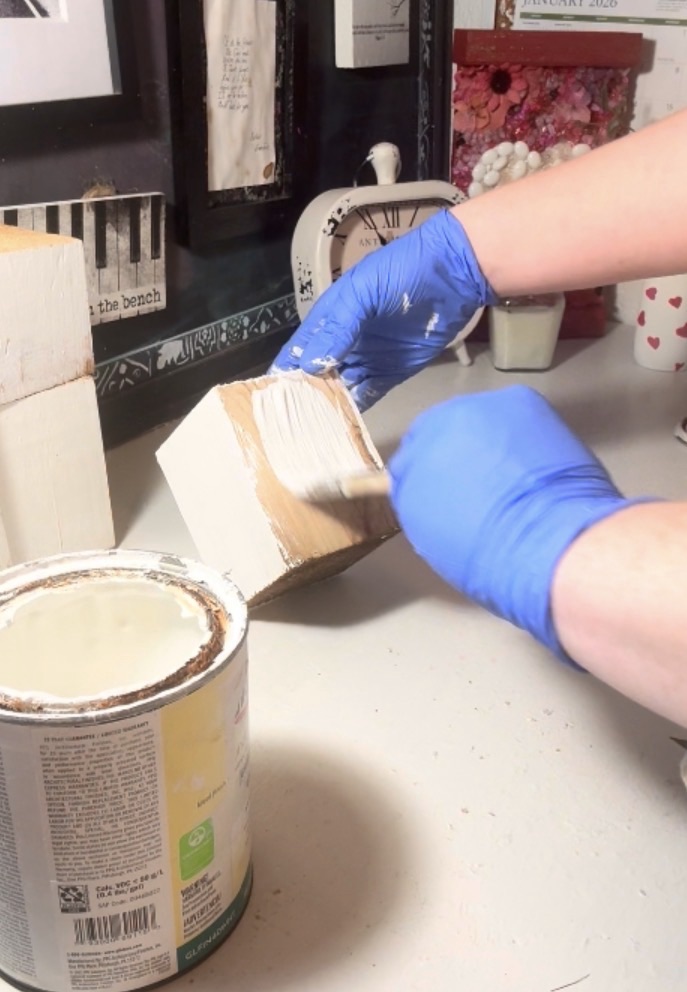
I painted all three cedar blocks white to give myself a clean slate. My original idea was to do red string art on them — something bold and graphic. In my head, I was kind of imagining a red China plate vibe: classic, elegant, patterned.
That… is not exactly how it turned out 😅.
Some of the designs came out really cool and almost epic. Others are a little more mosh-posh and chaotic. But somehow, all together, it kind of works — especially because each block is different and all four sides are decorated.
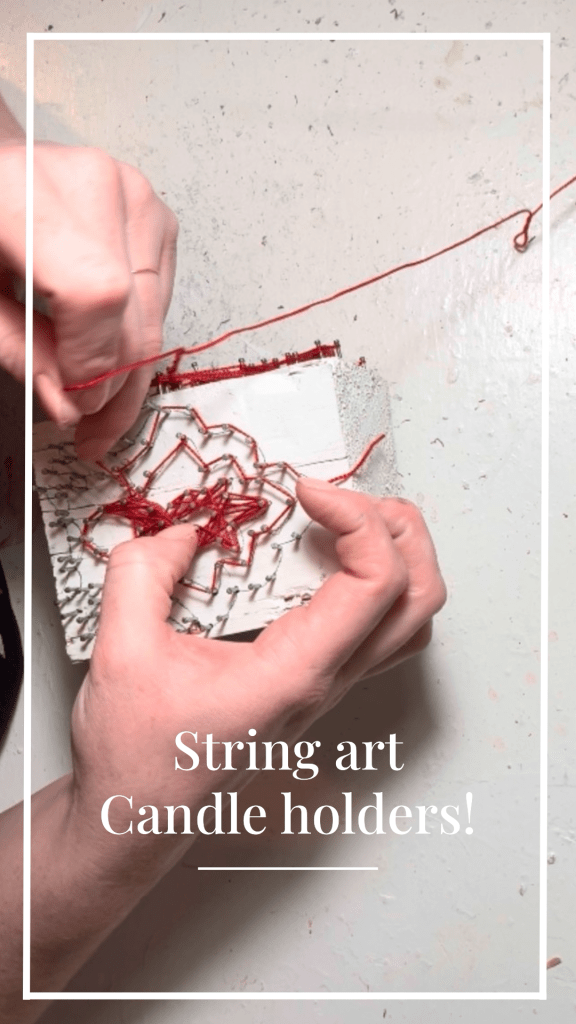
How I Did the String Art
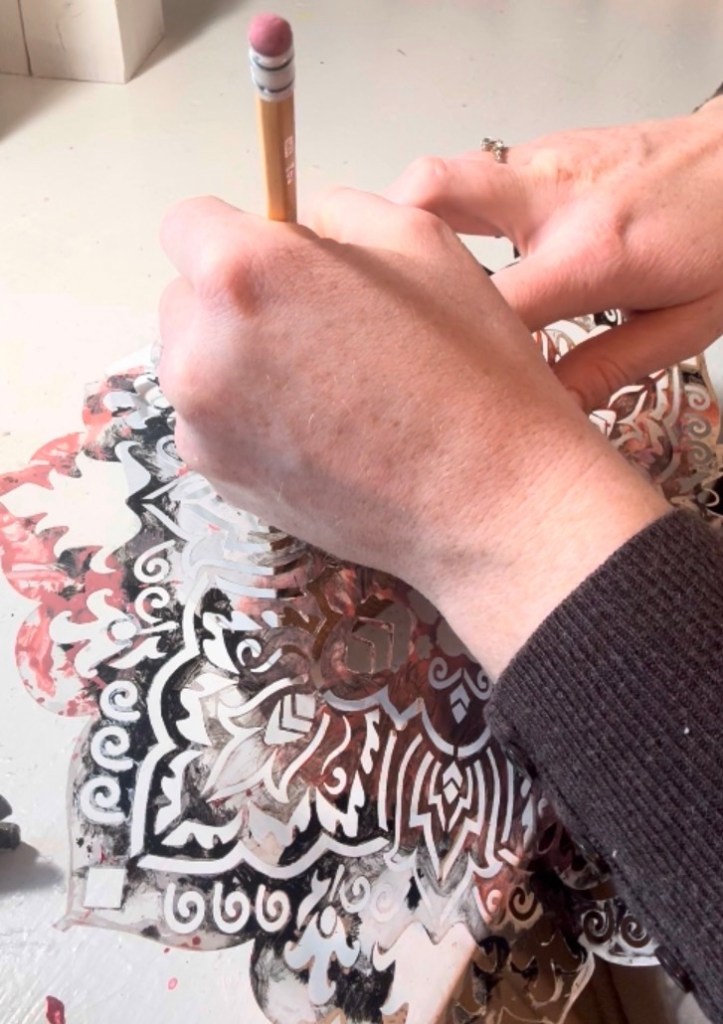
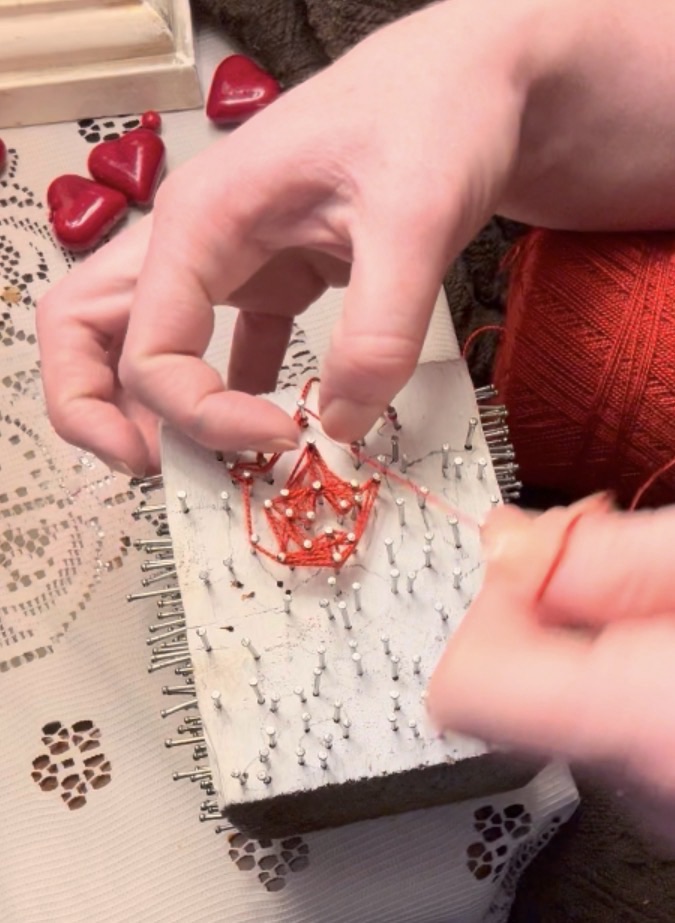
I used a random stencil I already had — a mix of shapes and designs — nothing fancy or planned. Here’s what I learned quickly: you absolutely need pencil markings first.
I laid the stencil down and traced the design lightly with a pencil. Once you start adding nails, the design gets hectic fast, and there’s no way you’d be able to follow a pattern without those pencil guides.
After marking everything:
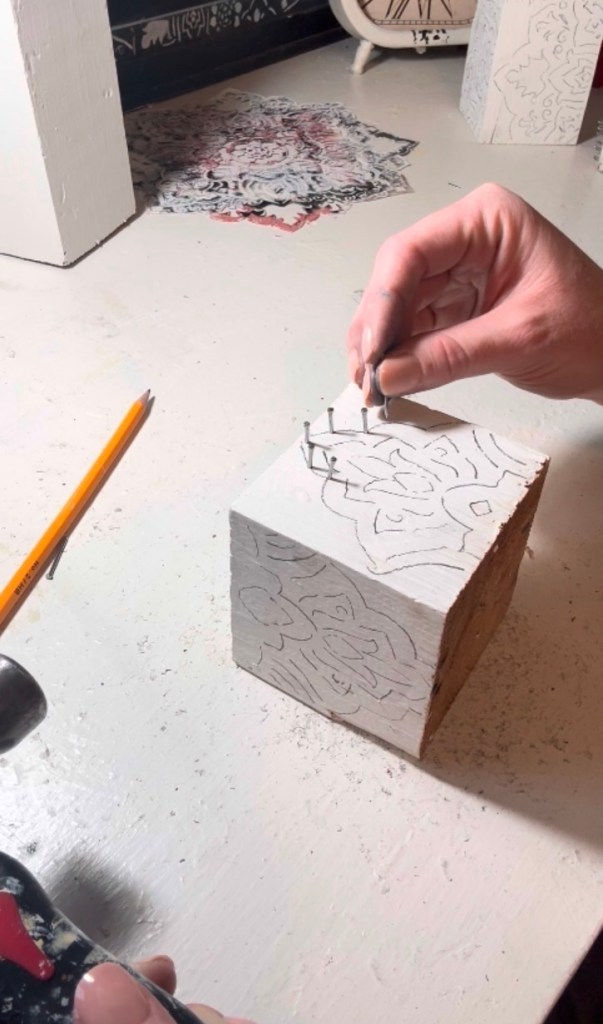
I hammered in all the nails along the design Then wrapped red string around the nails to build up the pattern
It definitely looks bold. Some sides look very intentional, others feel a little wild — but that’s part of the charm.
Cleaning Up the Pencil Marks (Quick Fix!)
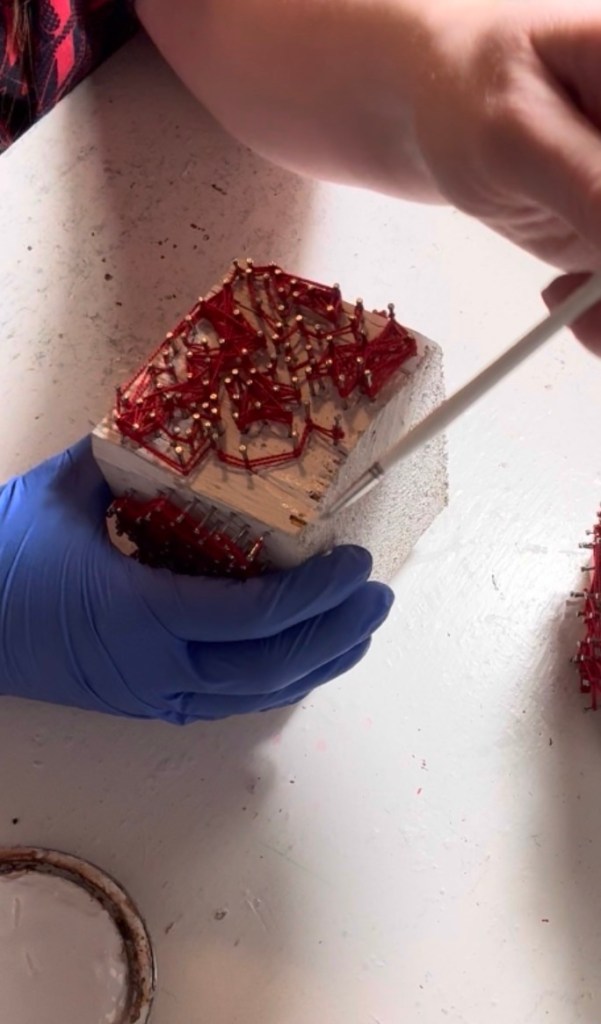
Once the string art was finished, a few pencil lines were still visible outside the string. I didn’t stress about making it perfect.
I just grabbed:
A teeny tiny paintbrush A little bit of white paint
I lightly dabbed over the pencil marks that were noticeable. You don’t need to cover everything — just the areas that catch your eye. This step was surprisingly fast and made a big difference.
Making the Candles Match
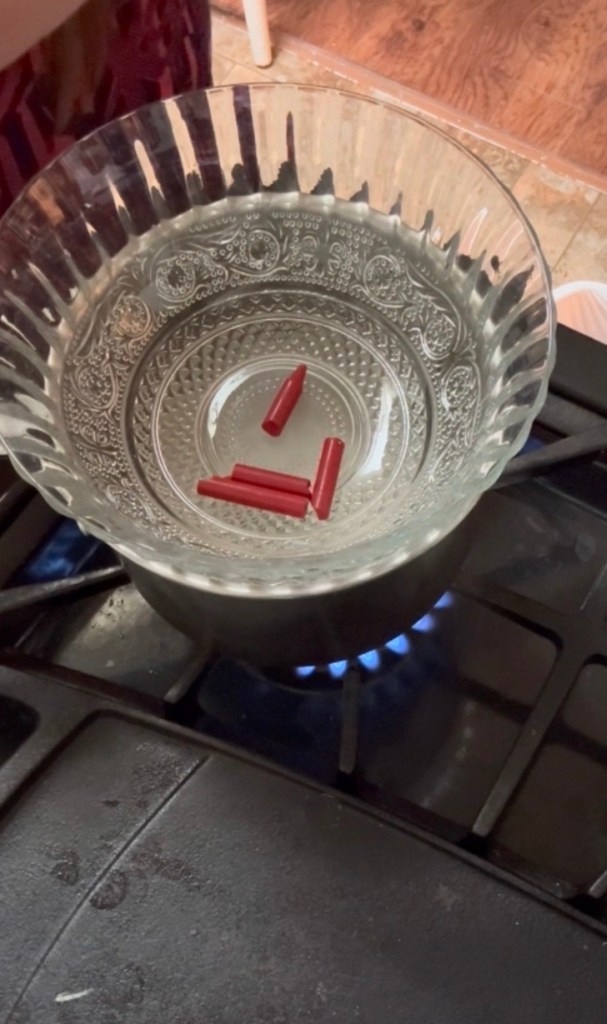
To take the whole setup a step further, I added pillar candles to the tops of the blocks. They were originally white, but with how white the blocks were, they really needed to be red.
Instead of buying new candles, I tried a simple trick I’d seen online:
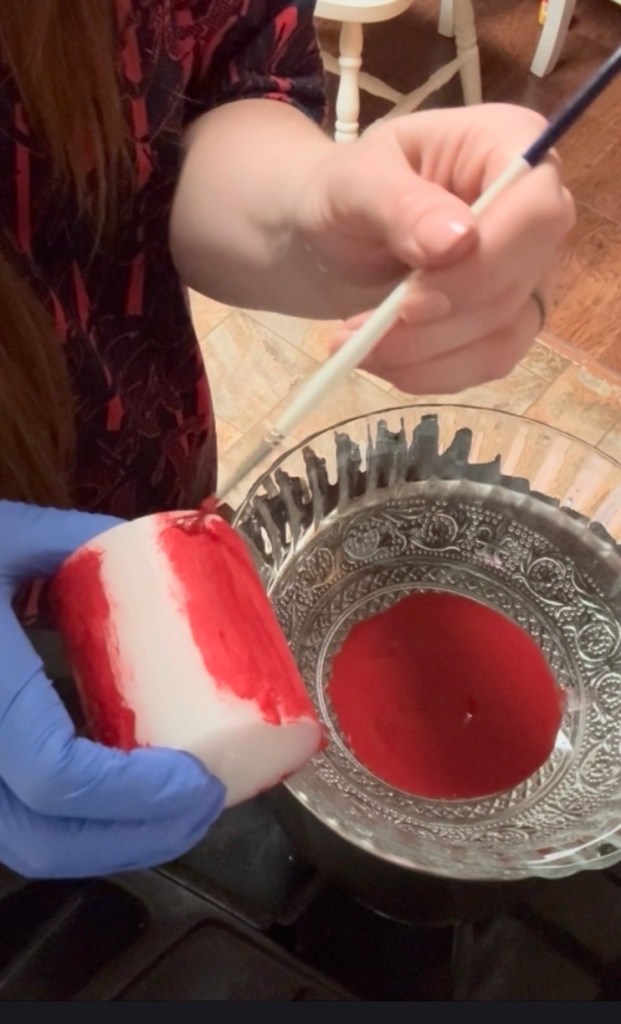
I used a double boiler Melted two red crayons Then, while the wax was warm, I painted it directly onto the candles
It worked perfectly. The candles turned out a bright, rich red — exactly what I wanted — and they look so good with the string art blocks.
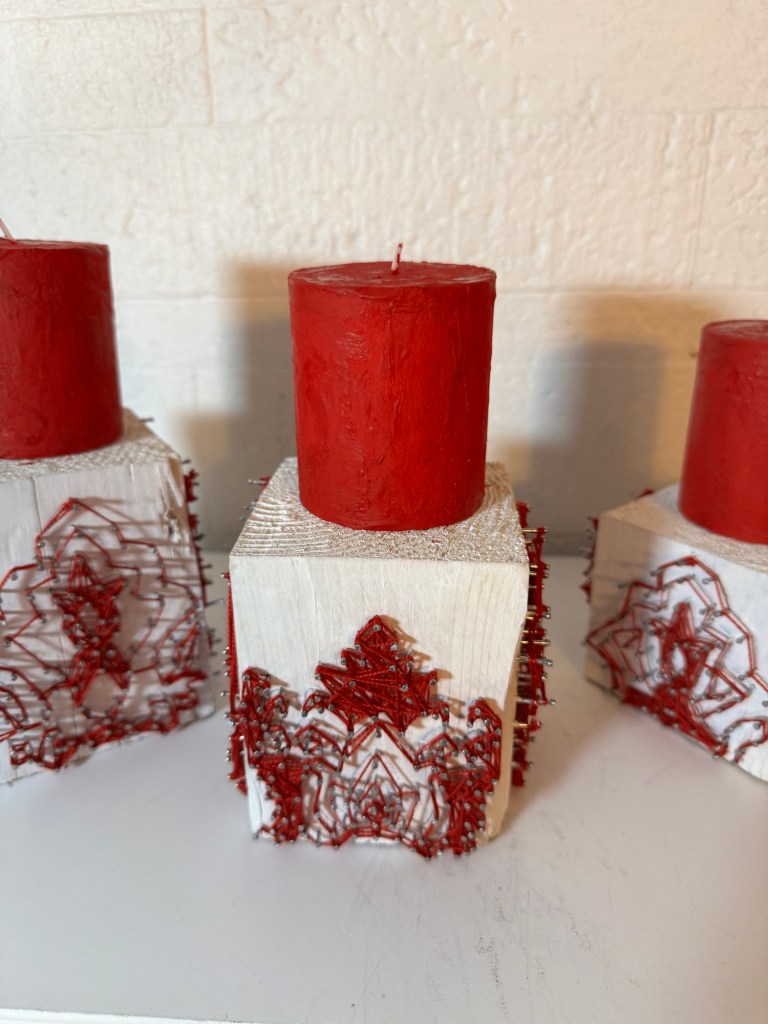
The Final Result

Each block is a different height — large, medium, and small — simply because that’s how the wood was cut. Every side has a different string art design, and no two sides are the same.
Is this decor a little insane?
Honestly… maybe 😄
Some designs are cute, some are bold, and some are definitely out there. But together, they feel creative, handmade, and unique — and that’s what I love about them.
I’m planning to try selling this set on Etsy just to see what happens. It may not be for everyone, but sometimes the most interesting decor is the stuff that doesn’t fit neatly into a box.
If nothing else, this project was a fun reminder that scrap wood + curiosity can turn into something totally unexpected — and sometimes that’s the best kind of DIY.
—-Your Crazy Crafter
