A Vintage Cityscape Mixed-Media Sign
I’ll be honest — I usually don’t buy blank signs.
I’m way more of a junk wood, pallet board, what’s-lying-around kind of girl. Free wood just makes sense to me, especially when so much of the store-bought stuff feels flimsy for the price. So when I picked up a small, round wooden blank from Walmart — about 12 inches wide — and realized it was seven dollars for what felt like pretty chintzy wood… I had a moment.
But sometimes life is busy, time is short, and you’re already at Walmart anyway. So into the cart it went.
And honestly? I’m glad it did.
Letting the Piece Lead the Way
I didn’t have a strict plan for this project. I just knew I wanted to create something — something moody, vintage, and a little dreamy.
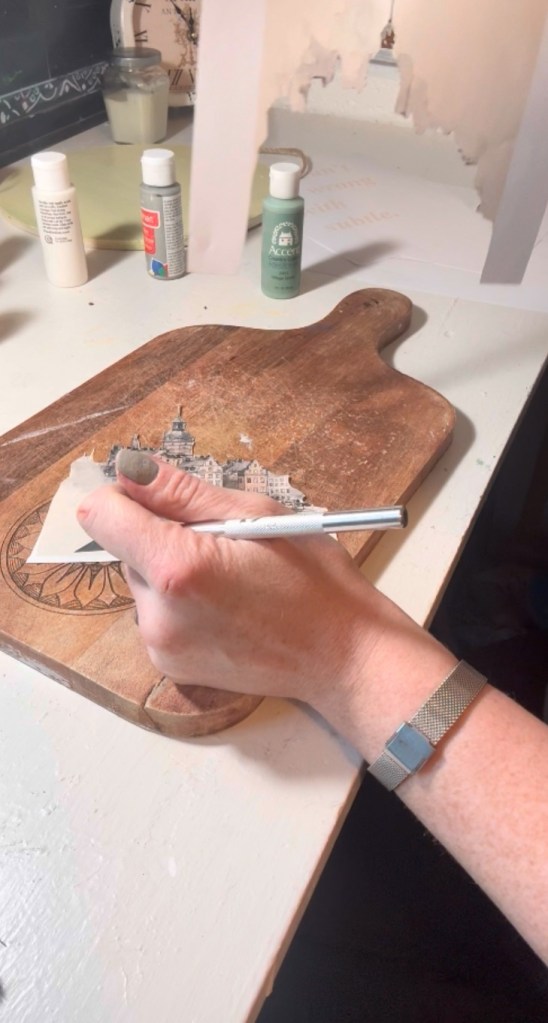
I started by hunting around on Pinterest and found some really old cityscape images — painted skylines, historic-looking buildings, and architectural scenes with a timeless feel. I printed a few of them out and used a crafting scalpel to carefully cut out building shapes I liked.
That’s kind of where the journey began.
I didn’t know where this piece was going when I started, and I had no idea how it would end. I just let the process guide me — and I actually love when art works that way.
Creating the Base: Sky, Water, and Shadow
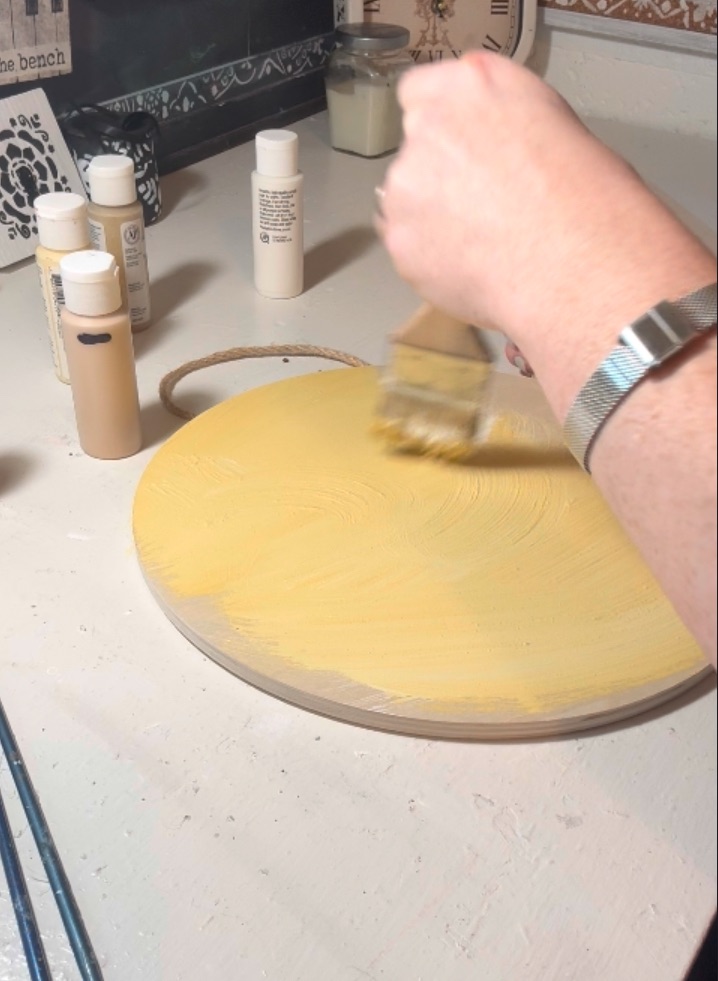
For the background, I painted the entire board in a soft, hazy yellow — almost sunset-like — with just a touch of gray mixed in to keep it from feeling too bright. That muted warmth set the tone right away.
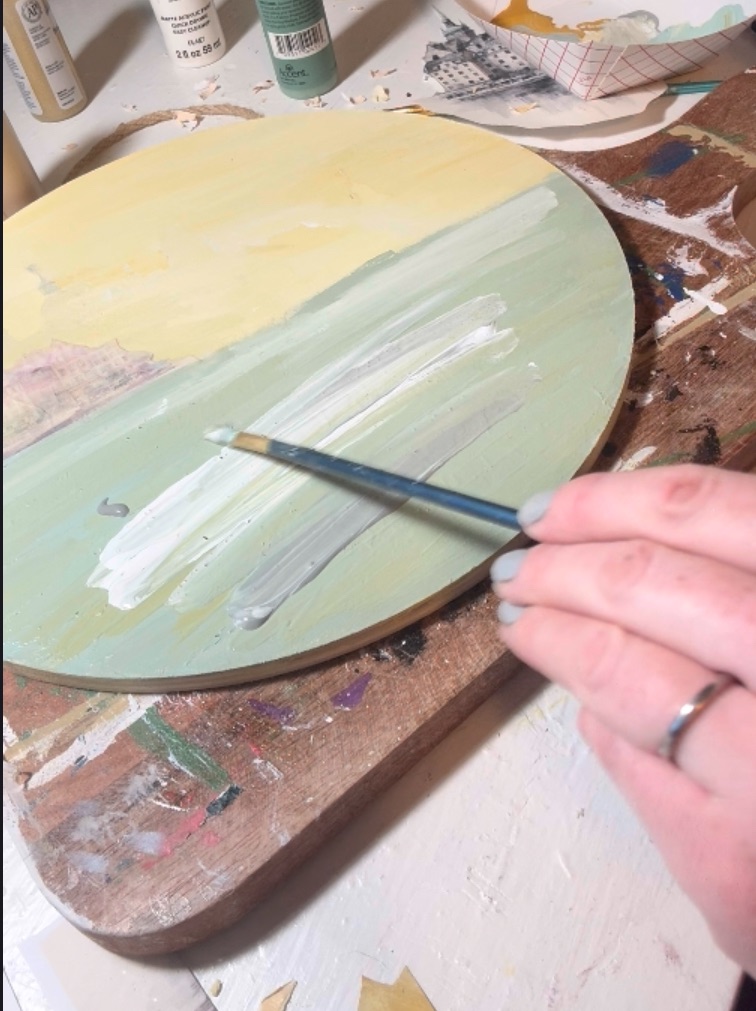
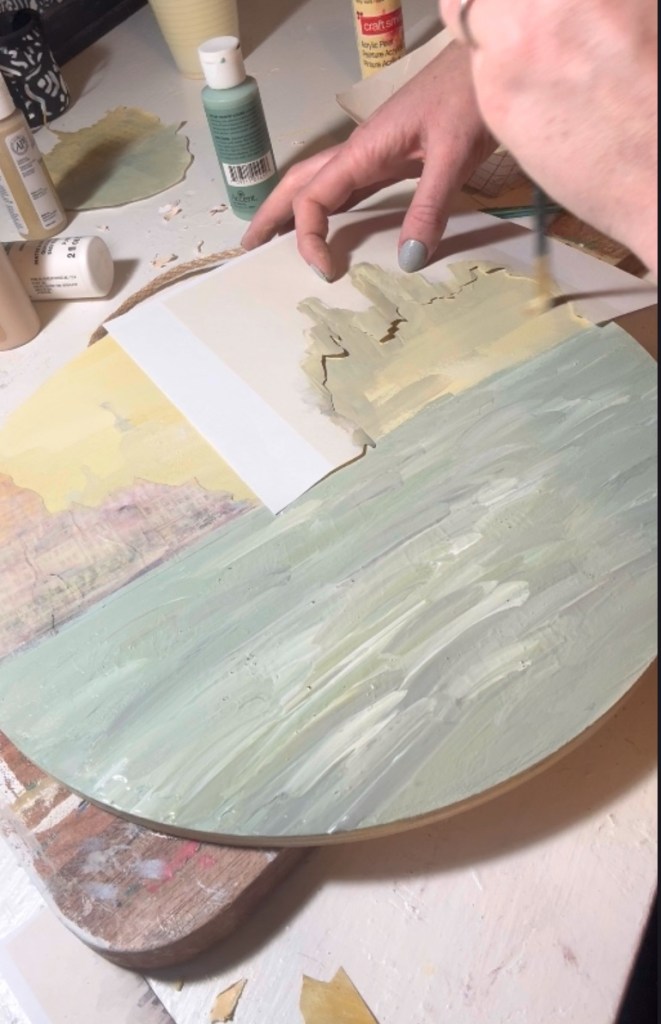
Then I painted the bottom half of the sign in grayish tones to resemble water, almost like an ocean or harbor. I layered in white highlights and subtle brush strokes to give it movement and depth, keeping everything soft and slightly weathered.
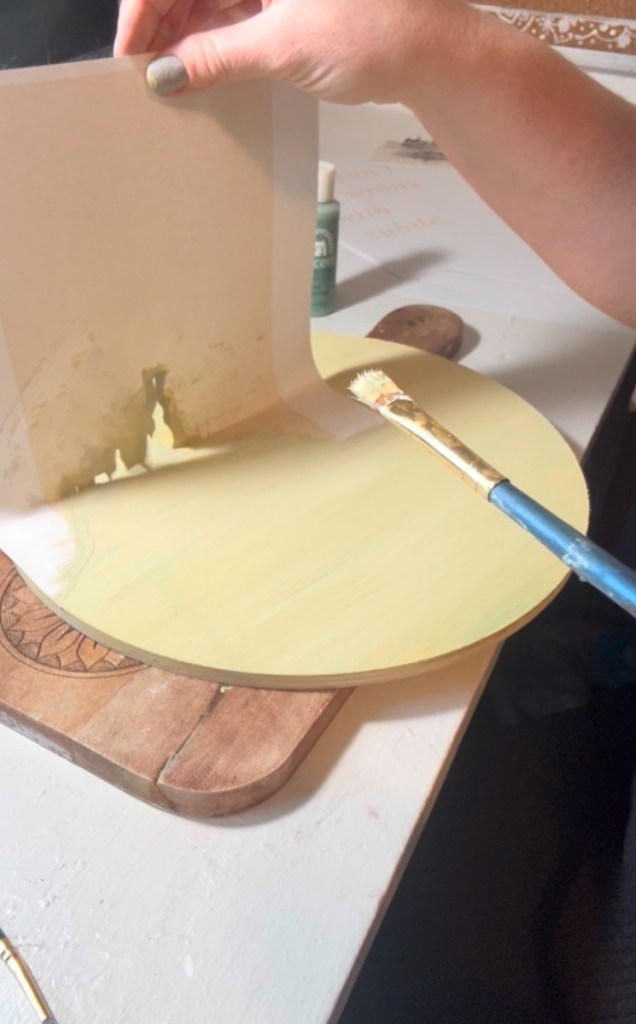
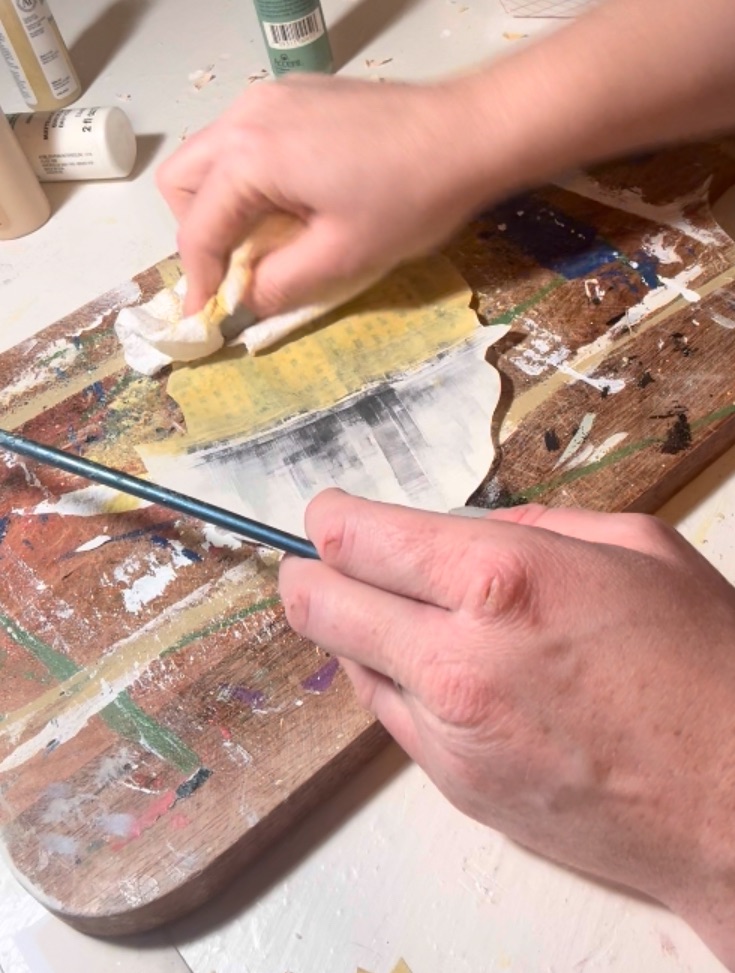
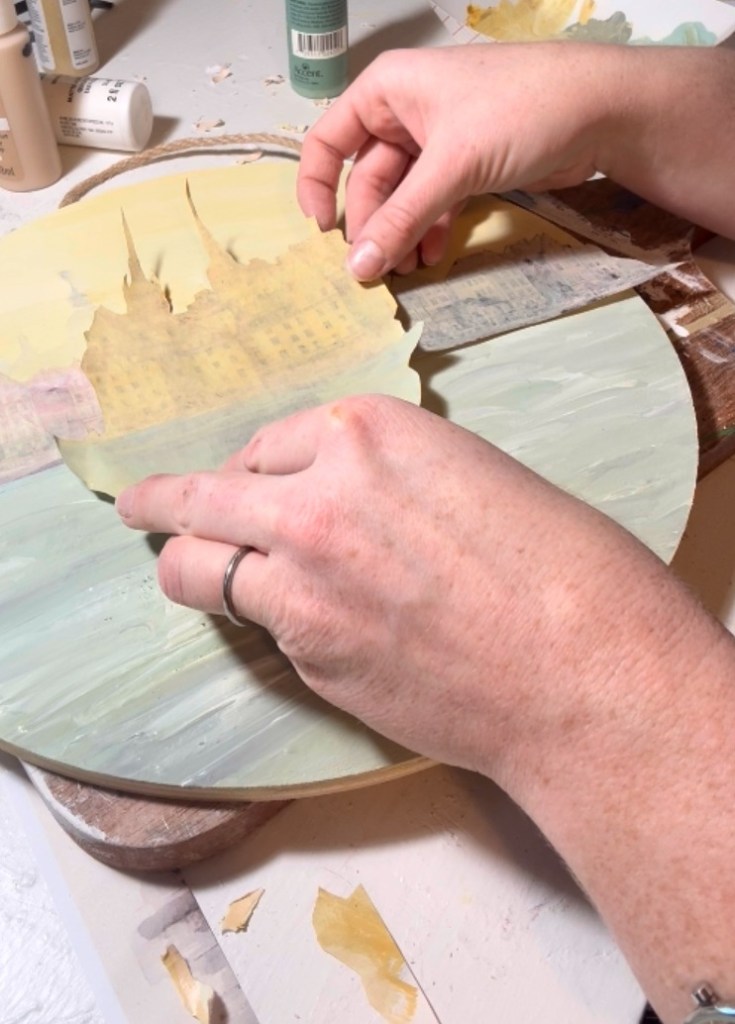
To create the illusion of distant buildings in the background, I reused the negative space from the cut-out cityscapes. I laid those pieces over the board and used them as templates, lightly painting gray backtones so it looked like shadowy buildings fading into the distance.
It added so much atmosphere without needing detailed painting skills — which I definitely appreciated.
Mixed Media Magic with Mod Podge
This is where Mod Podge really saved the day.
I chose some heavier paper pieces that fit the vintage vibe I was going for and lightly painted over them so they blended better with the scene. Then I Mod Podged them above the waterline, layering them into the skyline area.
Everything started coming together at that point.

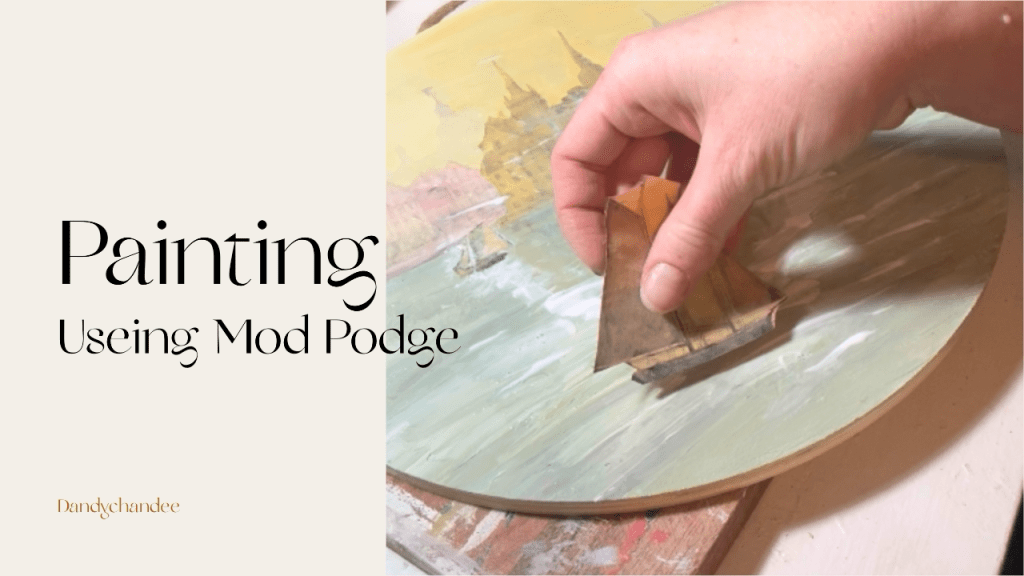
To add extra character, I found images of small, old ships — the kind you’d see in antique prints — printed them out, carefully cut them with a scalpel, and Mod Podged them onto the water.
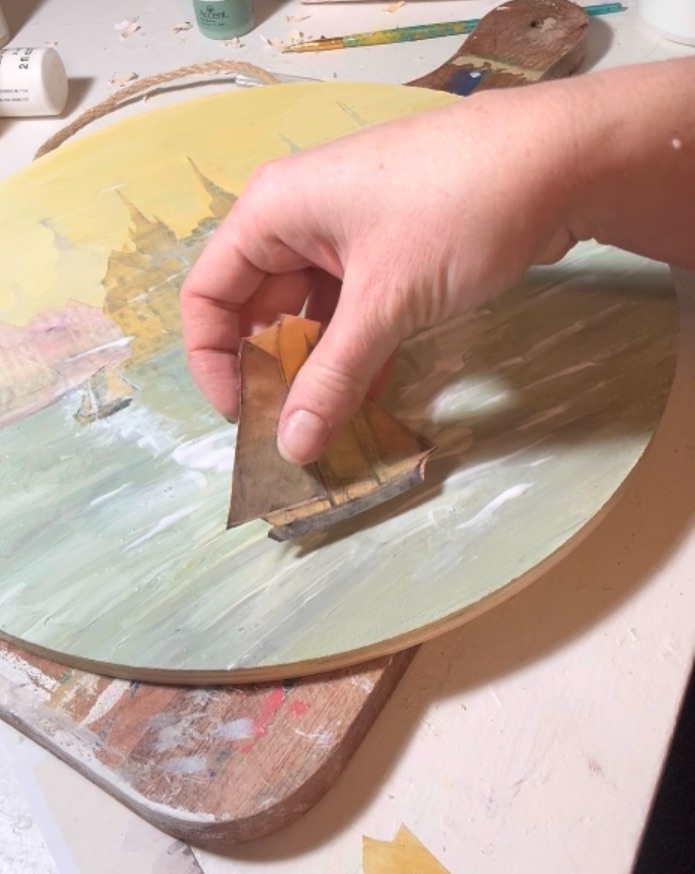
The result felt nostalgic and almost storybook-like.
Embracing the Imperfections

In certain lighting, you can see slight wrinkles in the paper and little imperfections from the Mod Podge. In other lighting, they disappear completely.
Is that a flaw?
Maybe to some people. But to me, it adds charm. It makes the piece feel aged, handmade, and real — not factory-perfect. And honestly, as someone who doesn’t consider herself a highly skilled painter, using collage and Mod Podge gave me confidence and creative freedom I wouldn’t have had otherwise.
Sometimes we just need a little help — a reference, a texture, a starting point — and that’s okay.
Finishing Touches
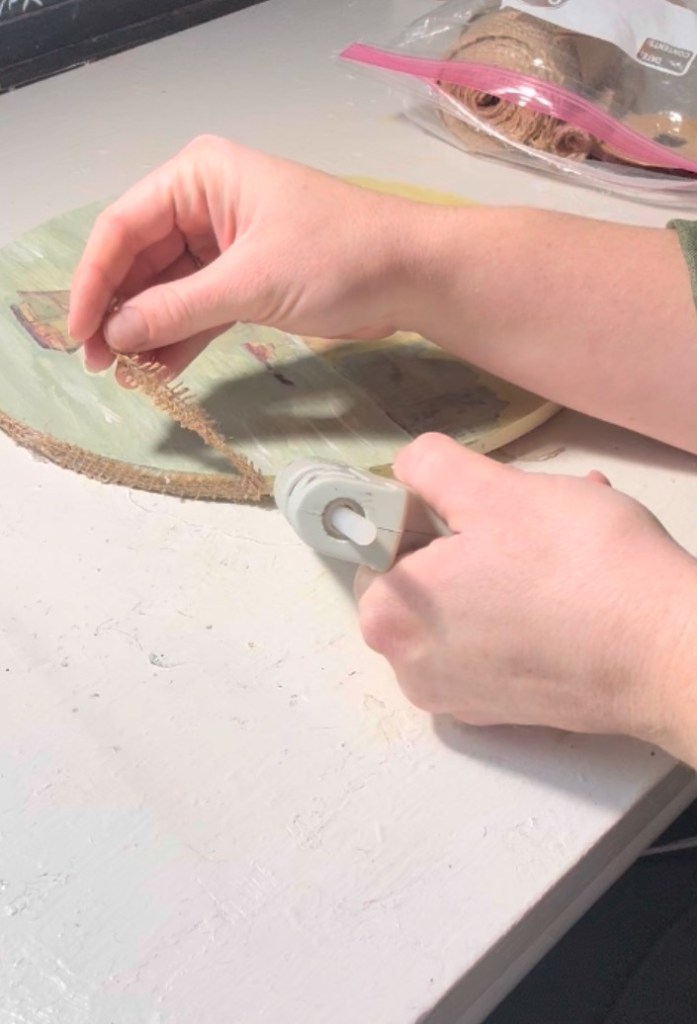
The sign already came with a rope twine hanger attached, which made finishing it easy. To polish off the edges, I hot glued a strip of burlap, sack-style fabric around the perimeter of the sign.
That small detail tied everything together and gave it a rustic, finished look that I absolutely love.
Final Thoughts
This project reminded me why I love making things out of scraps, inspiration, and whatever I have on hand. Even when I start with something store-bought and overpriced, creativity can still turn it into something meaningful.
Sometimes art isn’t about knowing the end result — it’s about letting the piece take you where it wants to go.
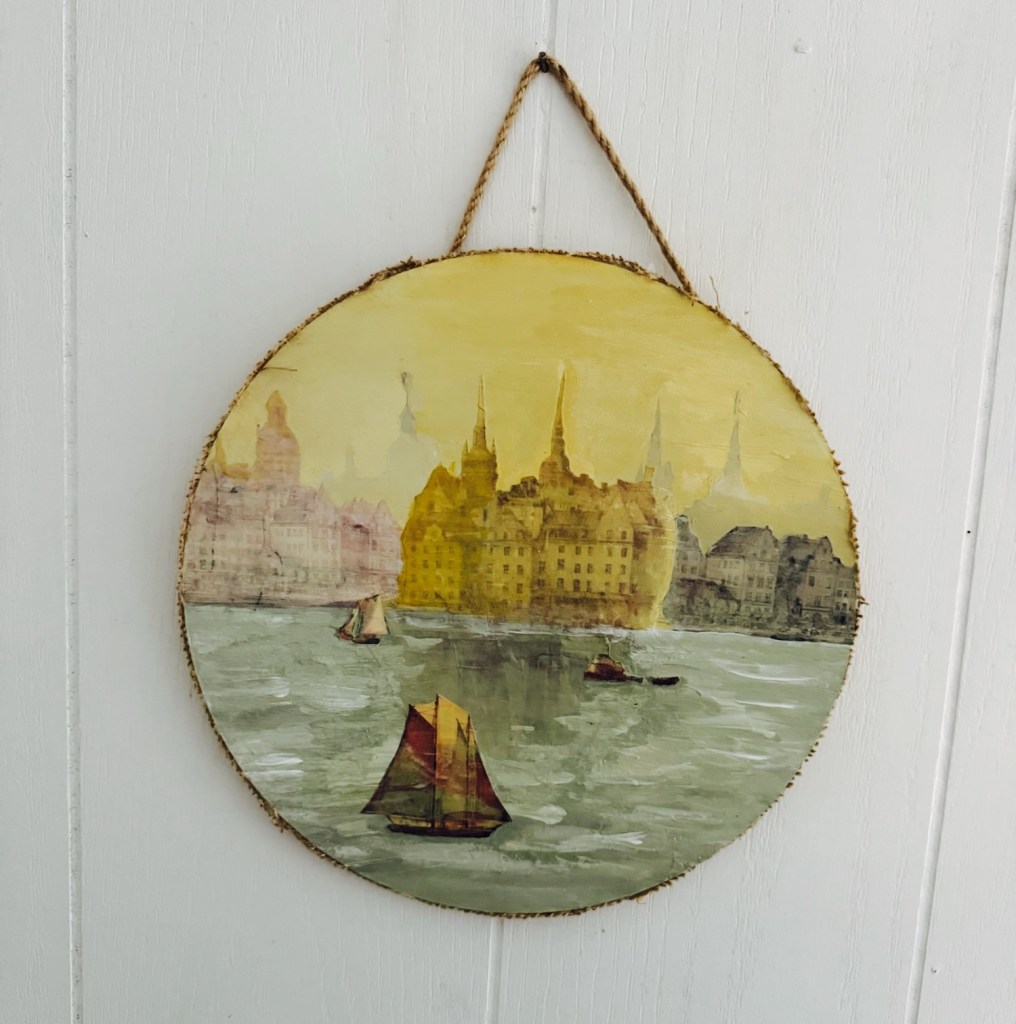
And this one? I’m really happy with where it landed.
—Your Crafting Buddy
