I recently found the cutest lightweight underskirt on Amazon—it had a soft, flowy shape with a delicate ruffle at the bottom. It was exactly the kind of layering piece I love wearing under dresses.
The only problem? It was $26.
(And just in case you want an under skirt but don’t want to make it here is a link to the one I love!👇)
And while that might not seem like a lot, it definitely adds up when you want multiple colors for different outfits. I started thinking… what if I could just make my own?
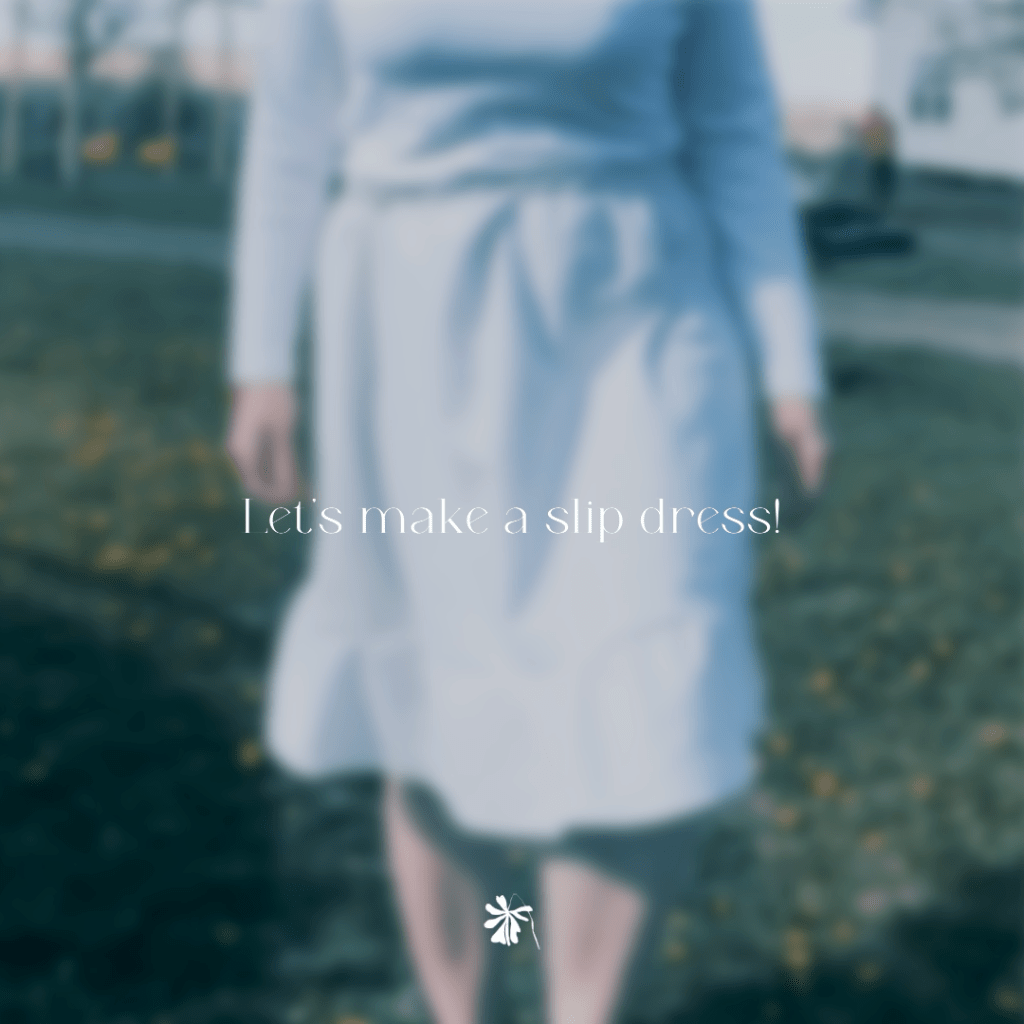
Why I Love Underskirts for Layering
If you wear dresses often, especially in the spring and summer, you probably understand these struggles:
- Wrap dresses that blow open in the wind
- Dresses with slits that feel a little too revealing
- Short dresses that you don’t want to pair with leggings
That’s where underskirts come in. They:
- Add modesty
- Create a layered, dimensional look
- Make outfits feel more styled and intentional
And honestly—they’re just really cute.
The Idea: Use What I Already Had
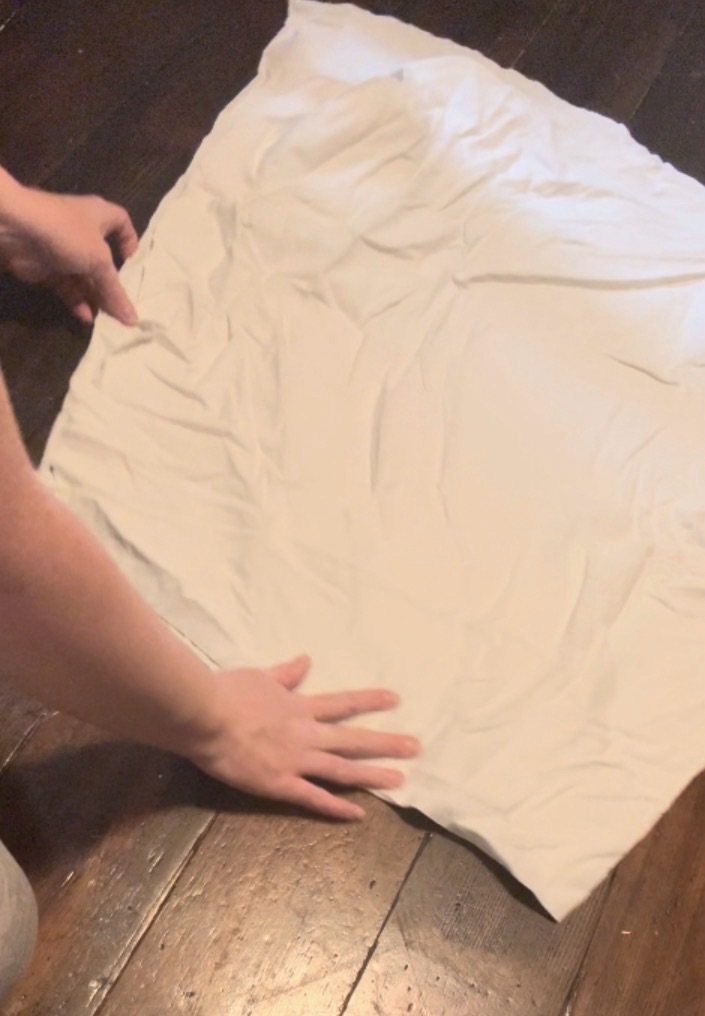
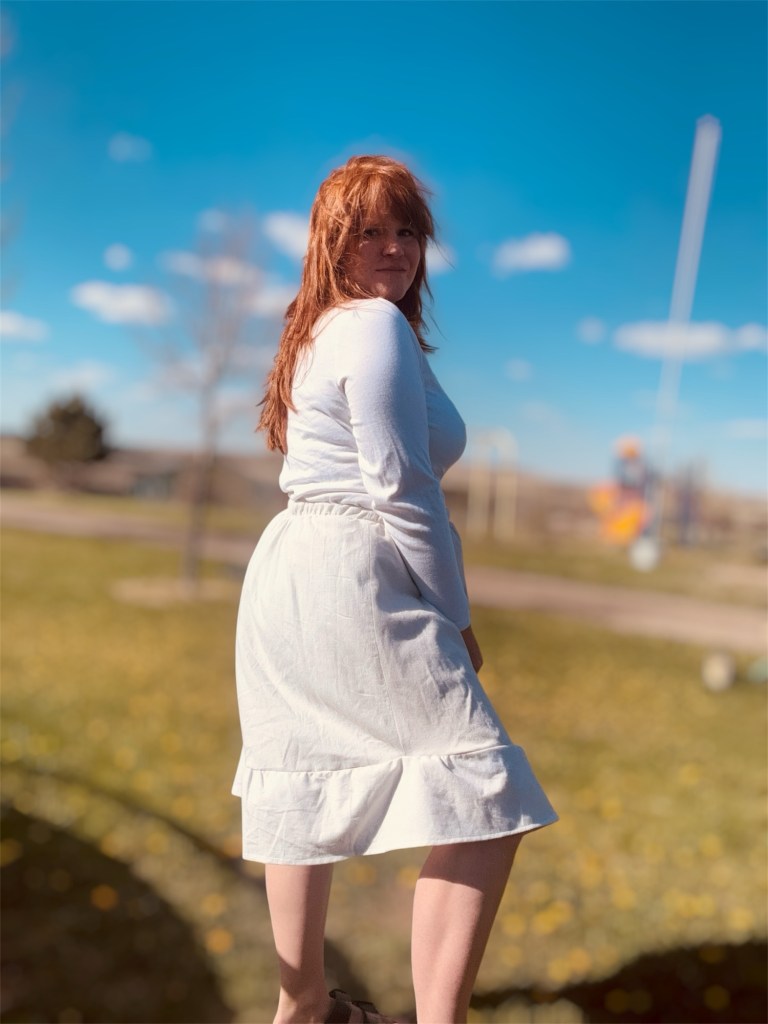
Instead of buying one, I remembered I had an old white cotton bedsheet. It was lightweight, breathable, and honestly perfect for an underskirt.
So I decided to just go for it.
How I Made My Underskirt
This project was actually way simpler than I expected—even as a beginner sewer.
1. Cut the skirt shape
I cut the bedsheet into an A-line skirt shape. Nothing fancy—just wide at the bottom and narrower at the top.
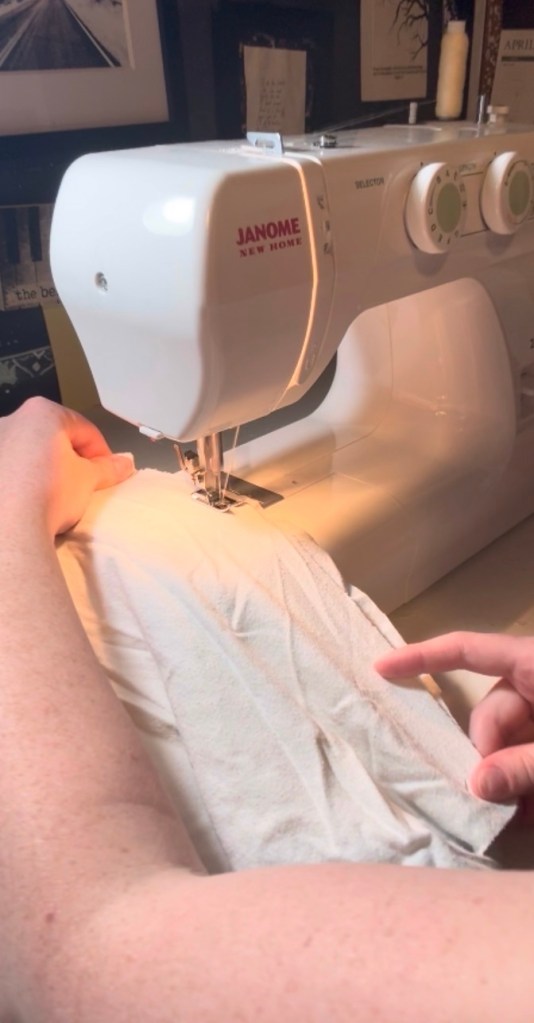
2. Sew the sides
I sewed the two sides together to form the base of the skirt.
3. Make the ruffle
This was my favorite part!
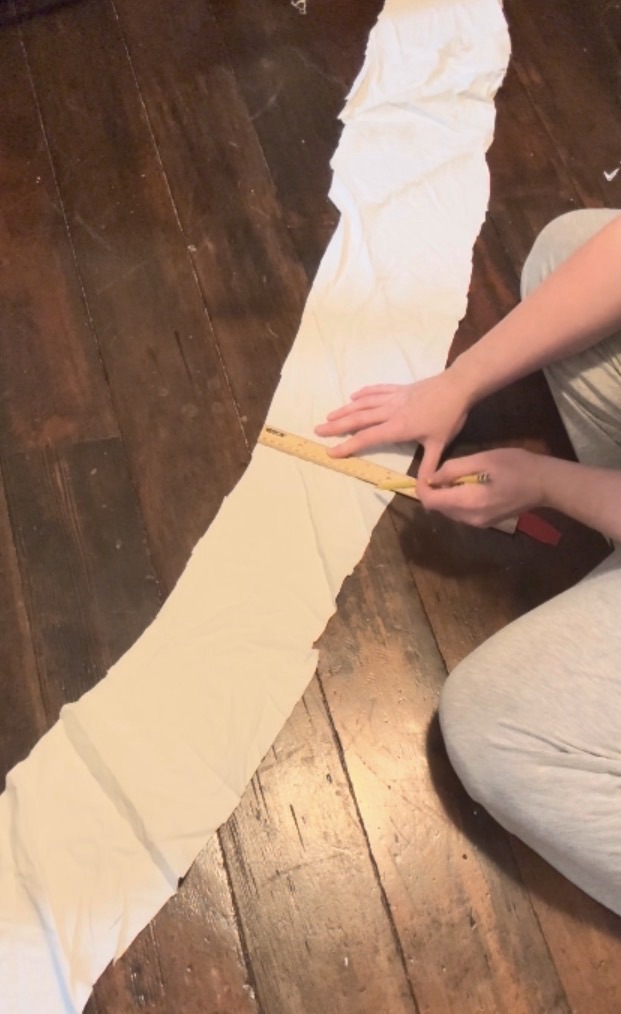
- I cut a long, narrow strip of fabric from the sheet
- Hemmed the edge
- Sewed the strip into a circle
Then I used a loose stitch (long stitch length) and sewed around the top of the strip. When you gently pull the thread, it gathers the fabric and creates that soft ruffle effect.
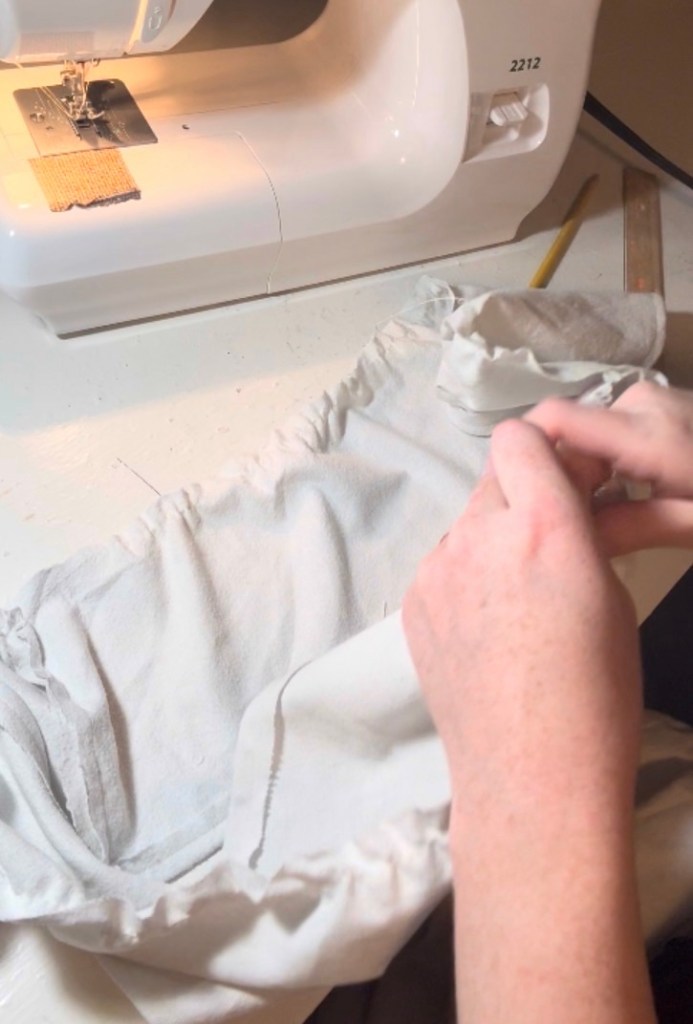
The best part? You can adjust it perfectly to match the width of your skirt.
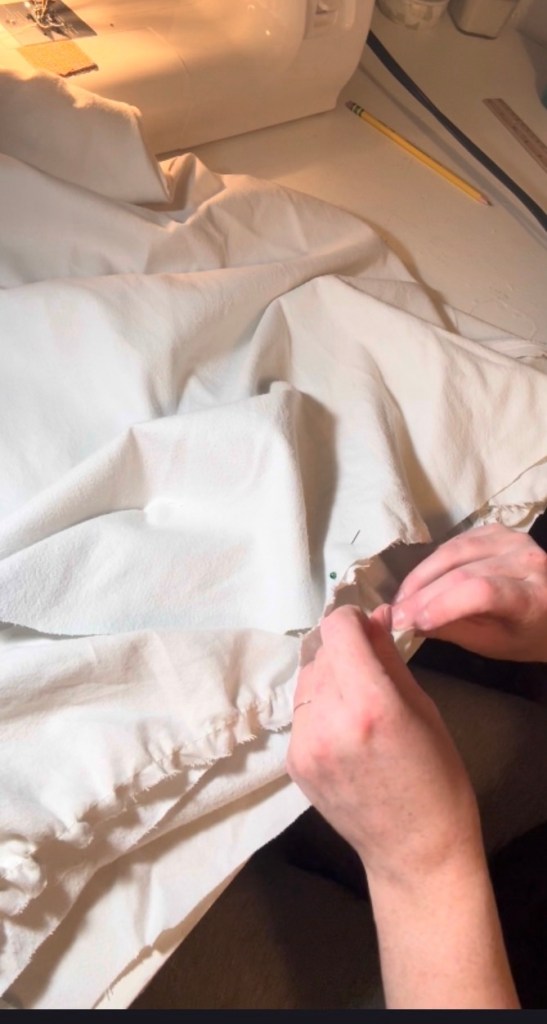
4. Attach the ruffle
Once it was gathered to the right size, I sewed it onto the bottom of the skirt.
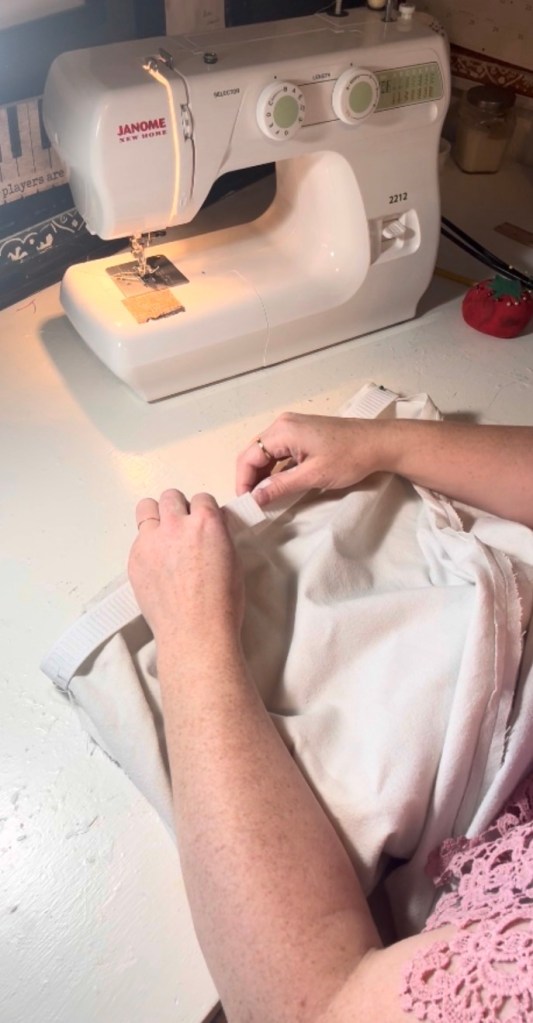
5. Add the elastic waistband
I sewed elastic to the top, folded it over, and stitched it down to finish the waistband.
My Mistake (and How I Fixed It)
I made one big mistake…
I didn’t try it on before finishing the waistband 😅
It ended up way too tight.
But thankfully, because it was an A-line skirt, I was able to fix it easily:
- I cut off the top portion
- Tried it on this time (lesson learned!)
- Reattached a new elastic waistband
The only difference? The skirt ended up shorter—more like knee to upper calf length.
Why It Still Turned Out Perfect
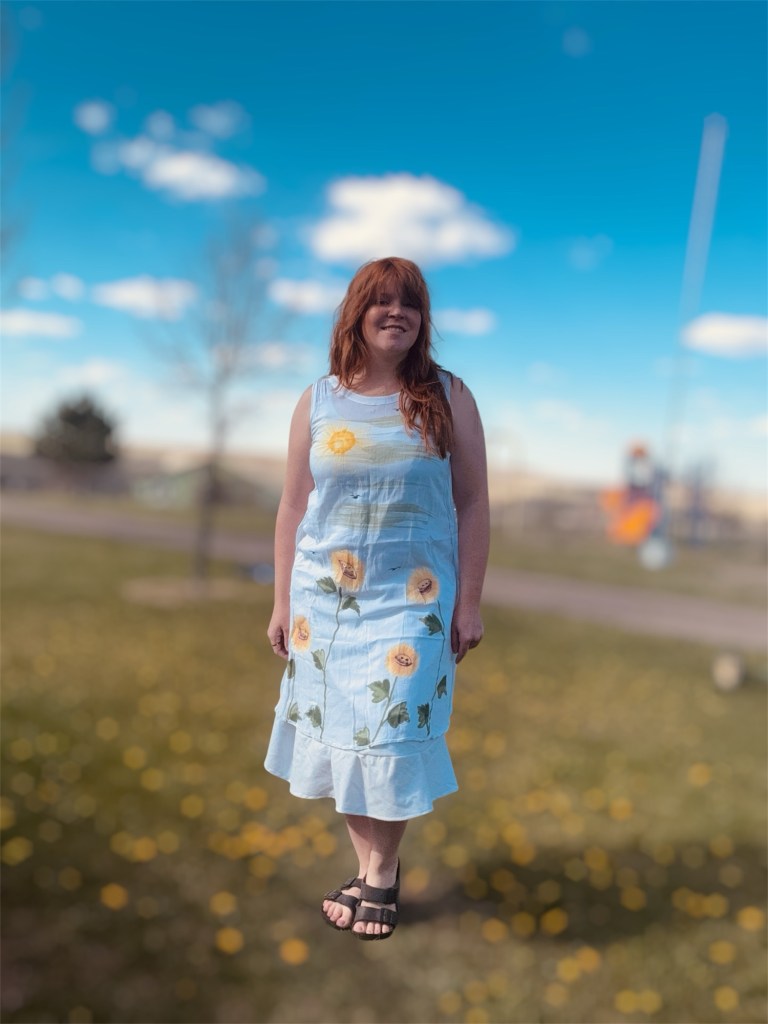
Even though it wasn’t my original plan, the shorter length is actually ideal for:
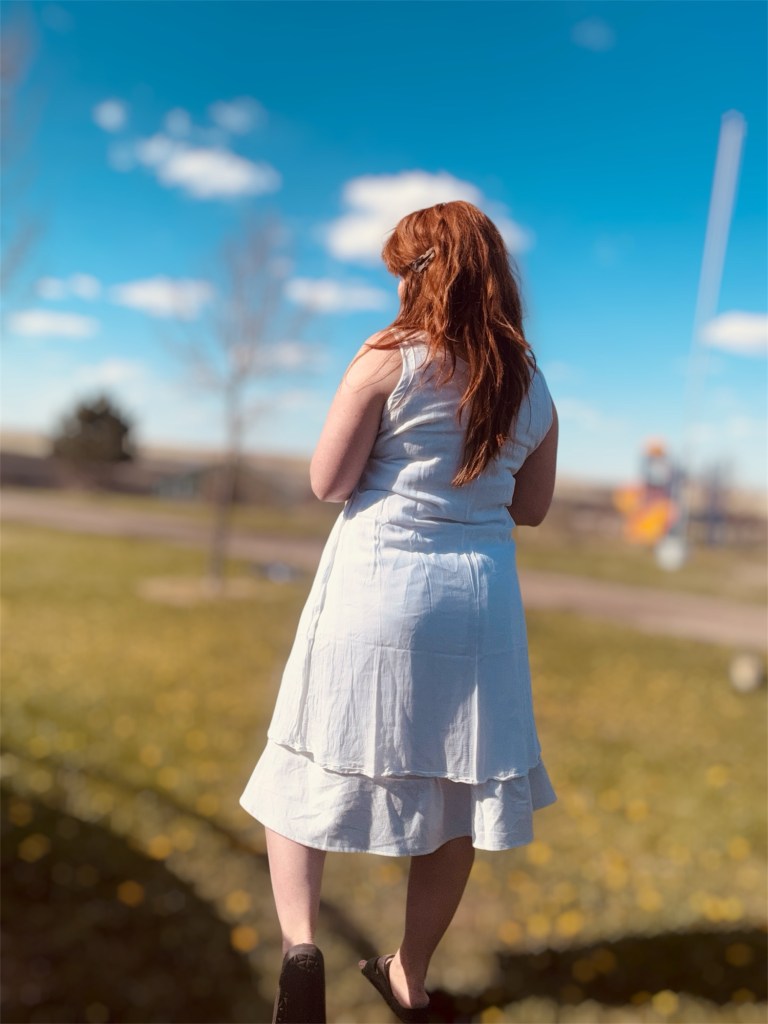
- Layering under short dresses
- Wearing in the summer without overheating
- Adding a subtle ruffle peek underneath
It gives that extra coverage without needing leggings—and still looks cute.
What I’d Do Differently Next Time
- Try it on before finishing the waistband
- Make a longer version for maxi dresses
- Experiment with different colors and fabrics
Because now I definitely want more of these!
Final Thoughts
This project cost me basically nothing, and now I have a piece I was about to spend $26 on.
Even better—I can customize it exactly how I want.
If you’ve ever thought about trying sewing but felt intimidated, this is such a good beginner project to start with. It’s forgiving, practical, and actually something you’ll wear.
And now I’m already thinking about making one in every color 🤍
